
For any delicate electronics, like computers and home entertainment, to industrial machinery itself a consistent power source is critical. Voltage fluctuations–spikes and sags–can damage equipment, cause data loss and prevent your system from performing at its best. The AVR (Automatic Voltage Regulator) is a vigilant protector of your sensitive electronics that provides a constant output to protect your investment in expensive equipment. Though safety concerns abound, fitting an AVR is within the ability of a skilled DIYer. In this post, we will go through it step by step.
Understanding the Importance of Safety
When working with any sort of wiring, the most important and typically overlooked step is always safety. Electricity doesn’t have a sense of humor, and you should never take any chances with it. Start by finding your master electrical panel and turn off the circuit breaker that powers the outlet or circuit to which you are installing the AVR. Doing this will isolate the circuit and you won't be electrocuted. Test the outlet with a voltage tester to verify that power is off. Always have insulated gloves and safety glasses on for the duration of installation. Make sure the area where you will work is dry and well-lit and that all your tools handy. As a reminder, if you feel unsure about anything it is best to have a licensed electrician do any work.
Obtaining the Required Tools and Materials
A good installation is only as good as the tools used to put it together. This organization helps to prevent breakages, allowing you to turn quickly and ensures a job well done without incidents. You’ll need a screwdriver, flat-head and Phillips, to remove outlet covers and screws connected the wires. Wire strippers, to keep the insulation free from nicks so the conductive copper remains unharmed. You will also want wire cutters and a pair of lineman’s pliers for twisting wires tightly together. Don’t forget the electrical tape and wire nuts for securing insulated connections. Of course, you need to have your AVR apparatus at hand and the rated power(load) that it can handle should be more or equal to what your connected devices will consume.
Executing the Installation Process
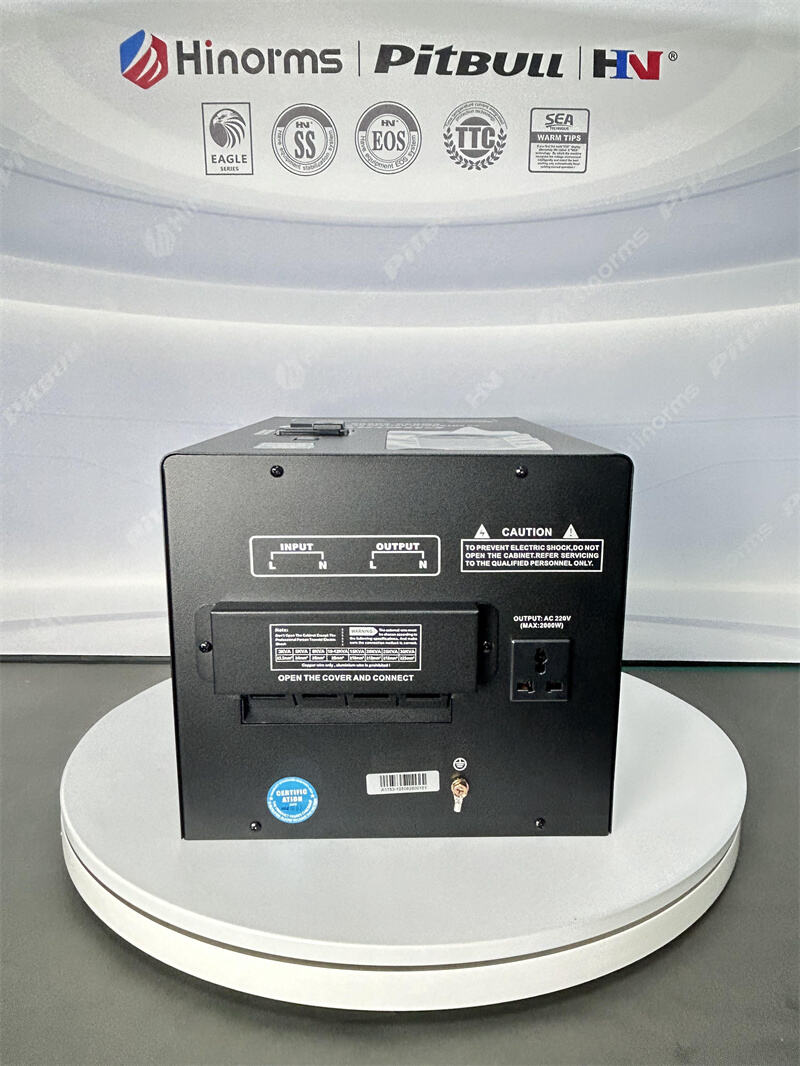
As long as power has been verified to be OFF and your tools are nearby, you can now commence the actual install. Begin by taking off the cover plate of the wall outlet you will hook up the AVR to. Unscrew the outlet from its electrical box and pull it out so several wires are exposed. Make a written note of the position of the live (usually black or red), neutral (often white) and earth/ground (usually green or bare copper) wires, paying particular attention to which parts of the wall are positive and negative. Connect the input wires from the AVR to its related circuit special VR model) for your equipment. This usually consists of live to the live, neutral to the neutral and earth (ground) to earth with wire nuts. Wrap them well in electrical tape for extra protection. The output leads from the AVR to the load - typically the outlet itself if you continue observing this method - are now safe to be wired up. When all is secured, neatly stuff the wires back in the electrical box; if the AVR comes with a cover specifically for it, mount that as well then reattach Cover Plate.
Testing and Verifying the System
The final step is to turn power back on and check your installation. Do not plug any sensitive products into the AVR at this time. Return to your main electrical panel and turn the circuit breaker back on. The majority of AVR systems are equipped with an indicator lamp or a display to indicate if they are working. Pay attention to this light it should be on or show standard voltage which means that the unit is receiving power and running You also can check the voltage physically with a good multimeter at this output outlet and see if it is inside the regulated range declared by an AVR manufacturer. After you have ensured that the AVR is on and controlling well, then you can attach your electronic appliances to its shielded outlets. So, there it is, you just fitted a concrete barrier against destructive spikes of power to deliver pure and consistent power to your equipment. Regular maintenance such as checking the AVR to ensure that it is not damaged or overheating should be done.